Norfolk LVP Installation with Tile Removal and Subfloor Repair
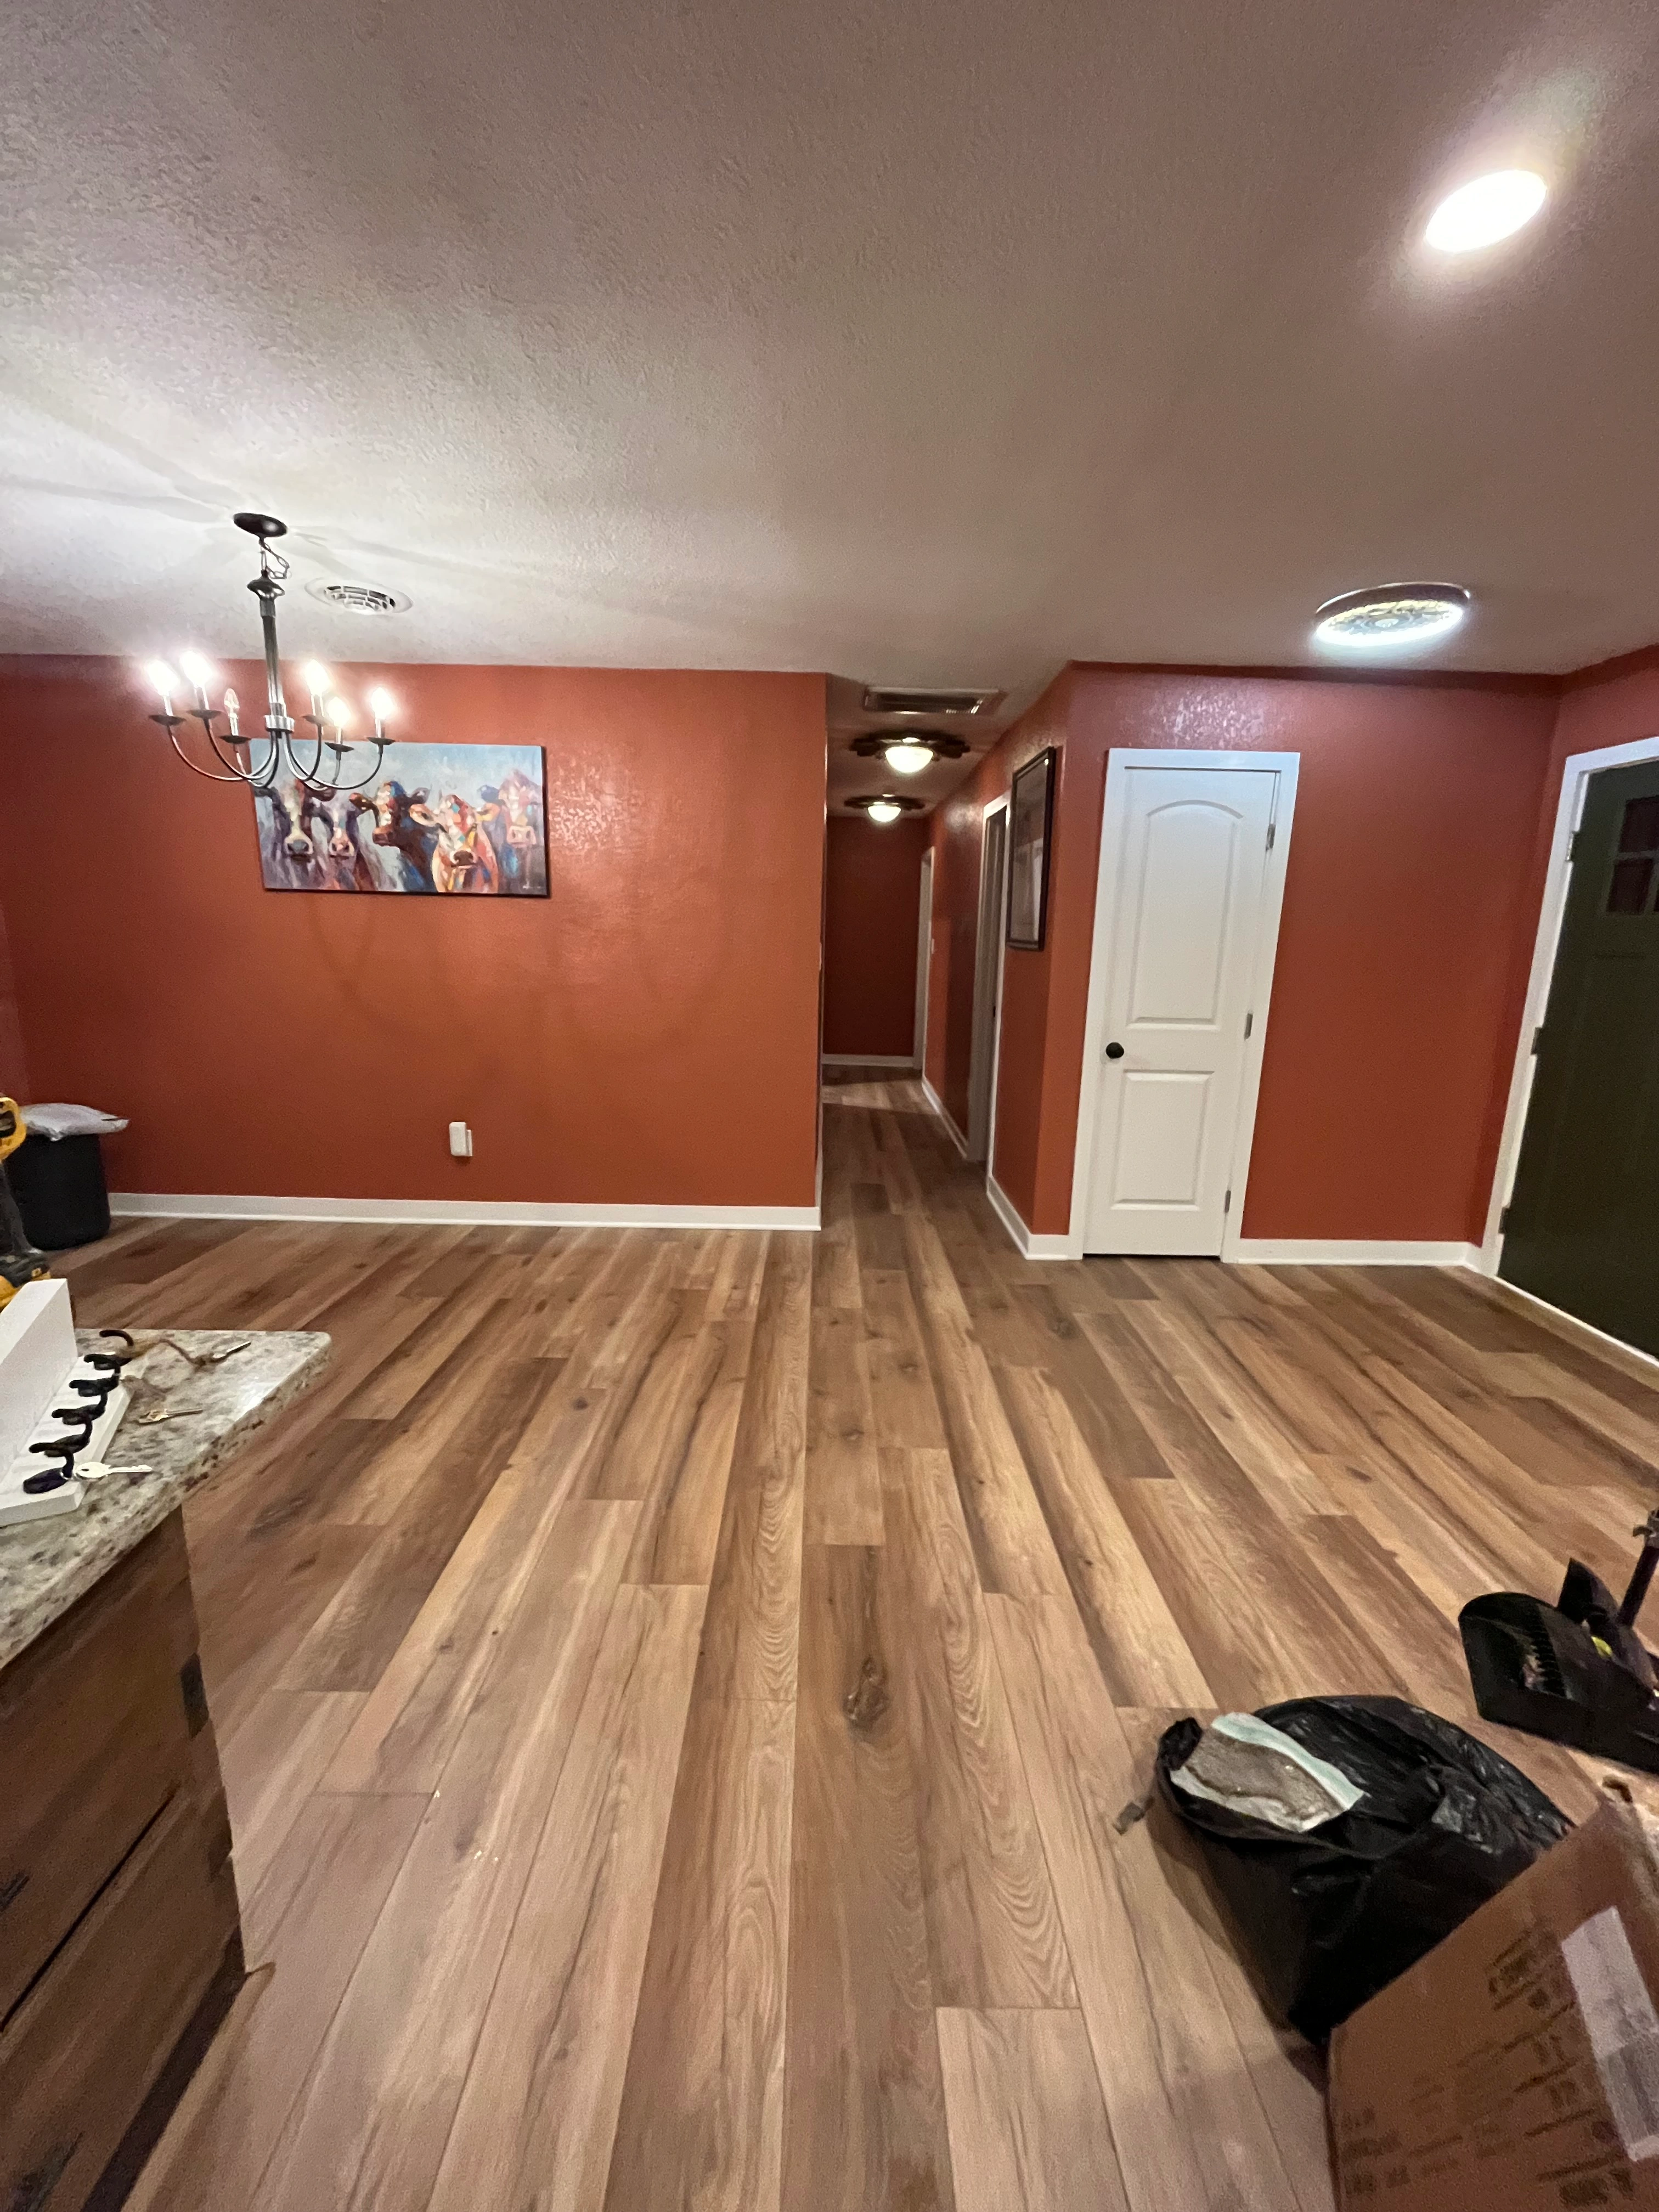
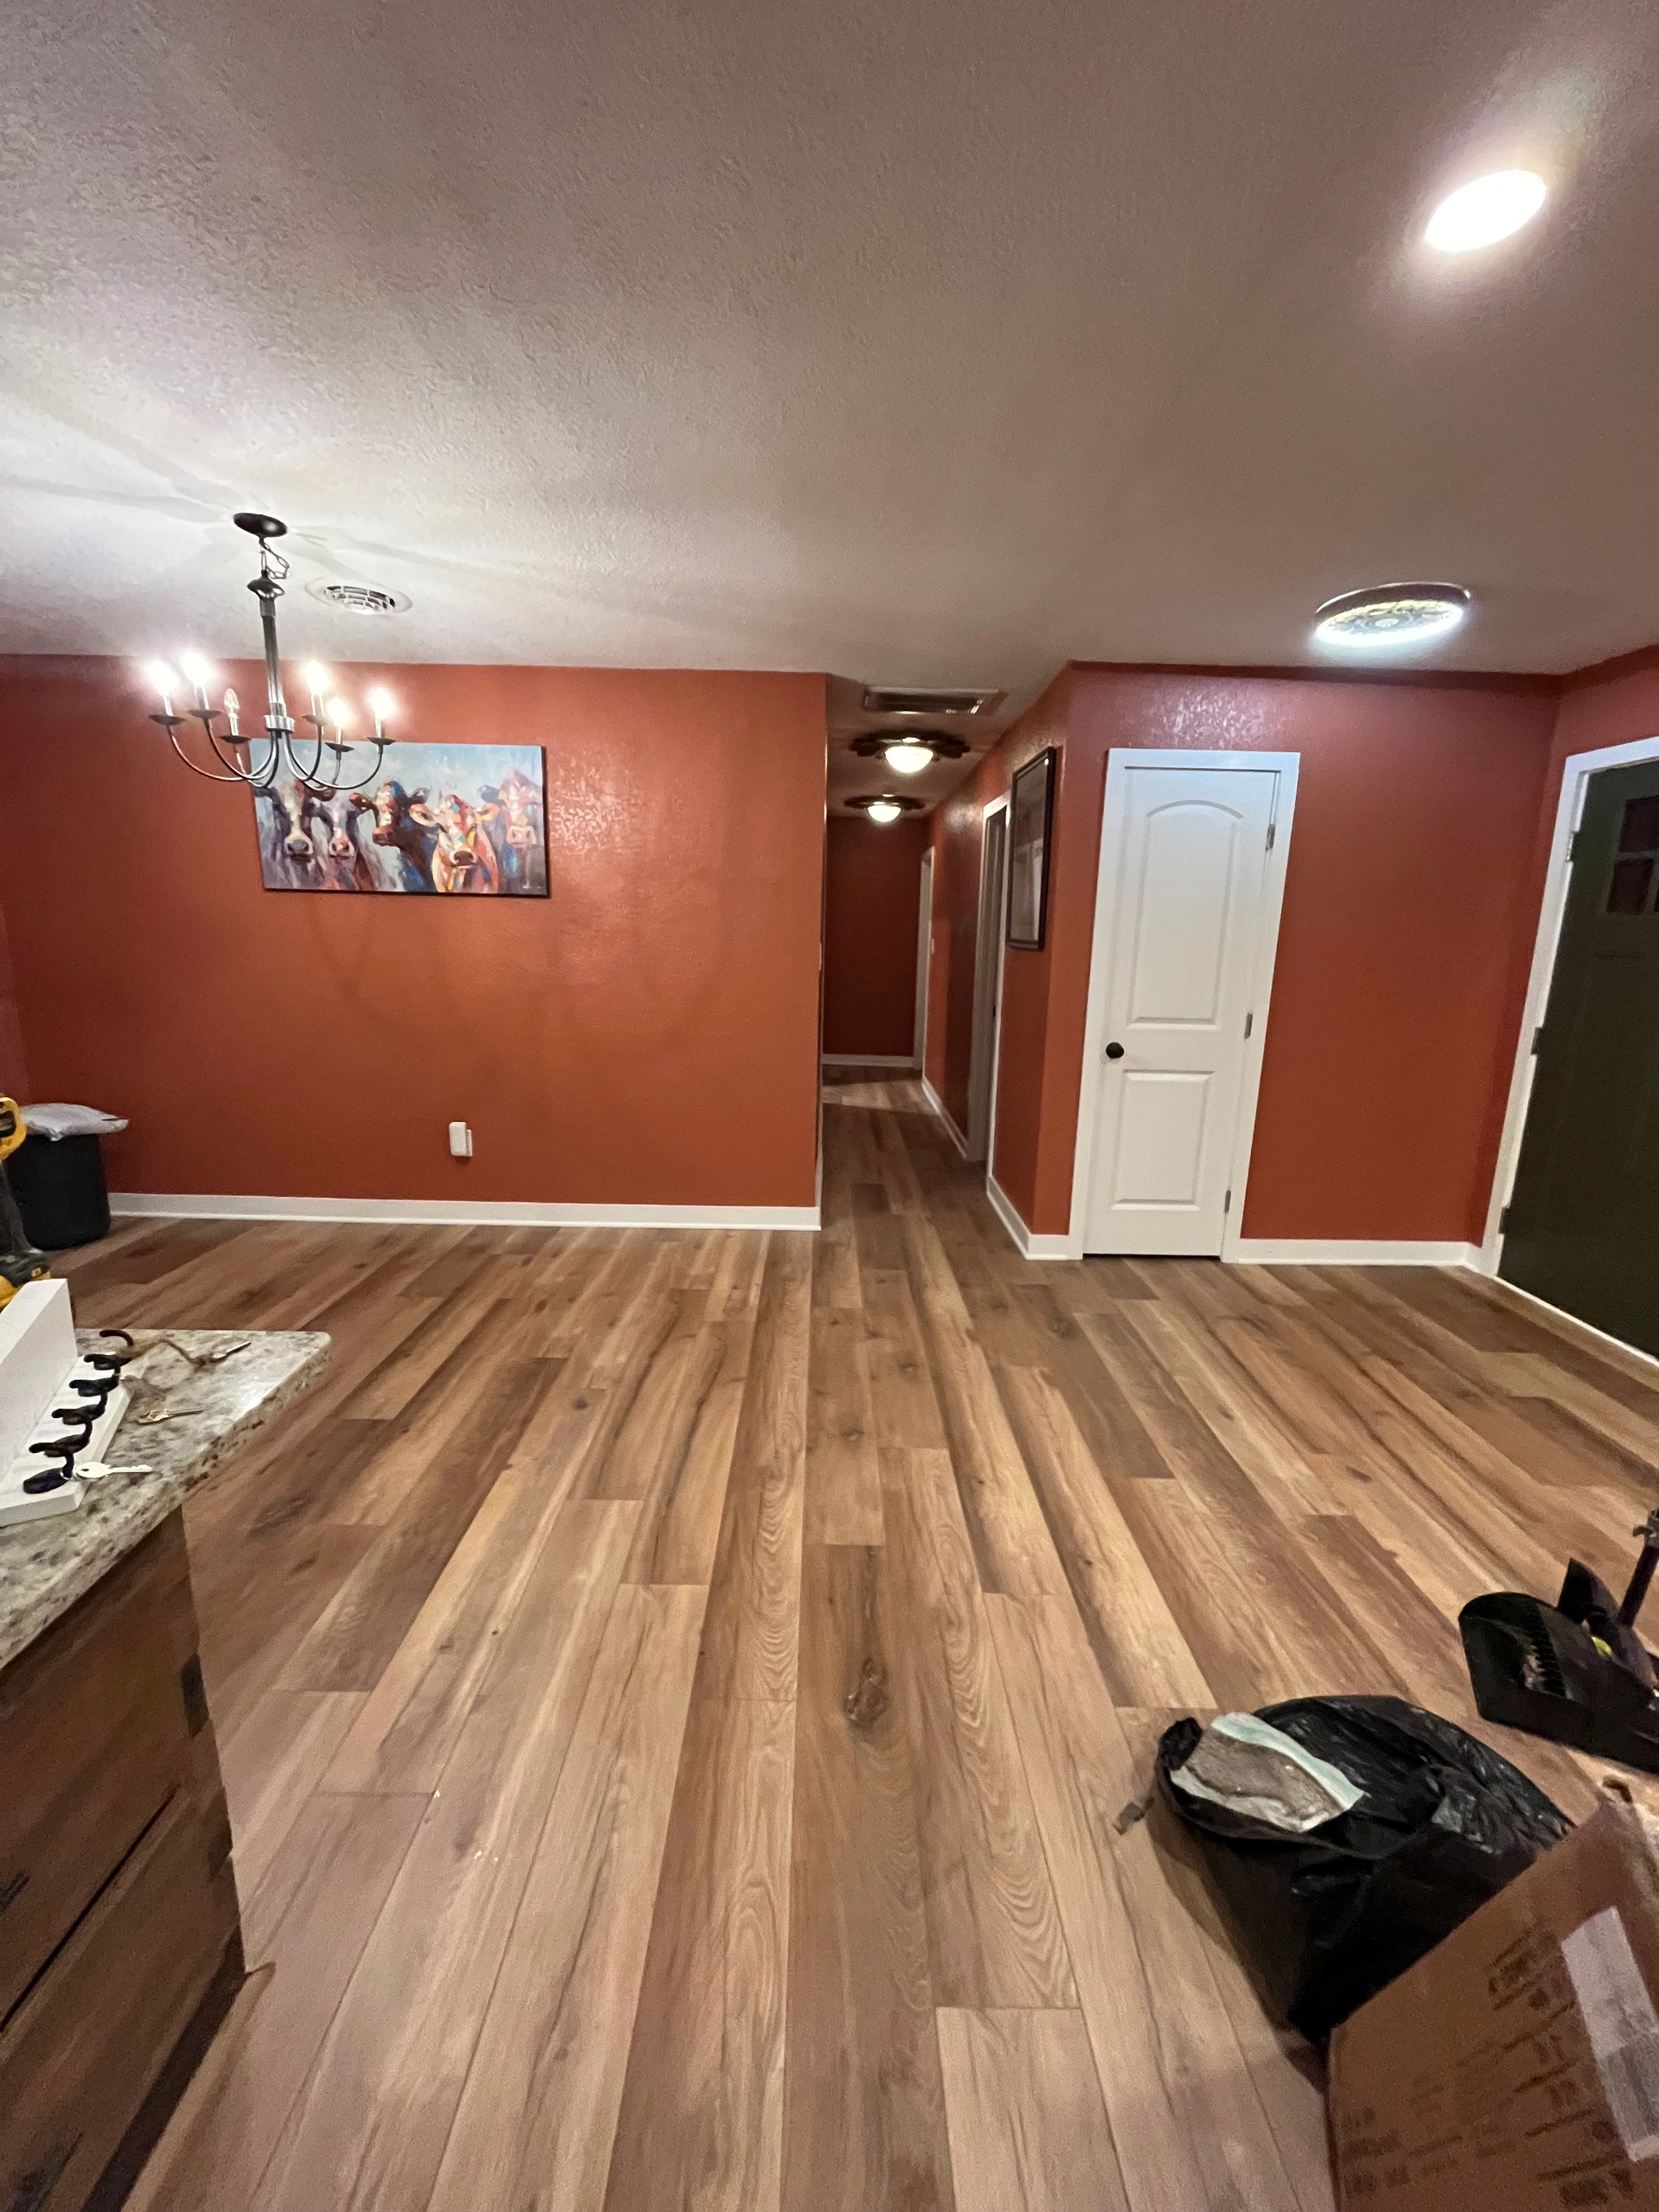
Old tile out, a solid subfloor underneath, waterproof LVP on top, and freshly painted walls to finish the room.
Project Details
The Restoration Journey
This Ocean View home in Norfolk had dated ceramic tile running through the kitchen and living area. The homeowners wanted a warm, wood-look floor that could handle spills, pets and Norfolk's humidity without the upkeep of grout lines. Luxury vinyl plank was the right fit: fully waterproof, quiet underfoot, and comfortable to live on. To make the whole space feel new, we finished the project with a fresh coat of paint on the walls.
The Problem
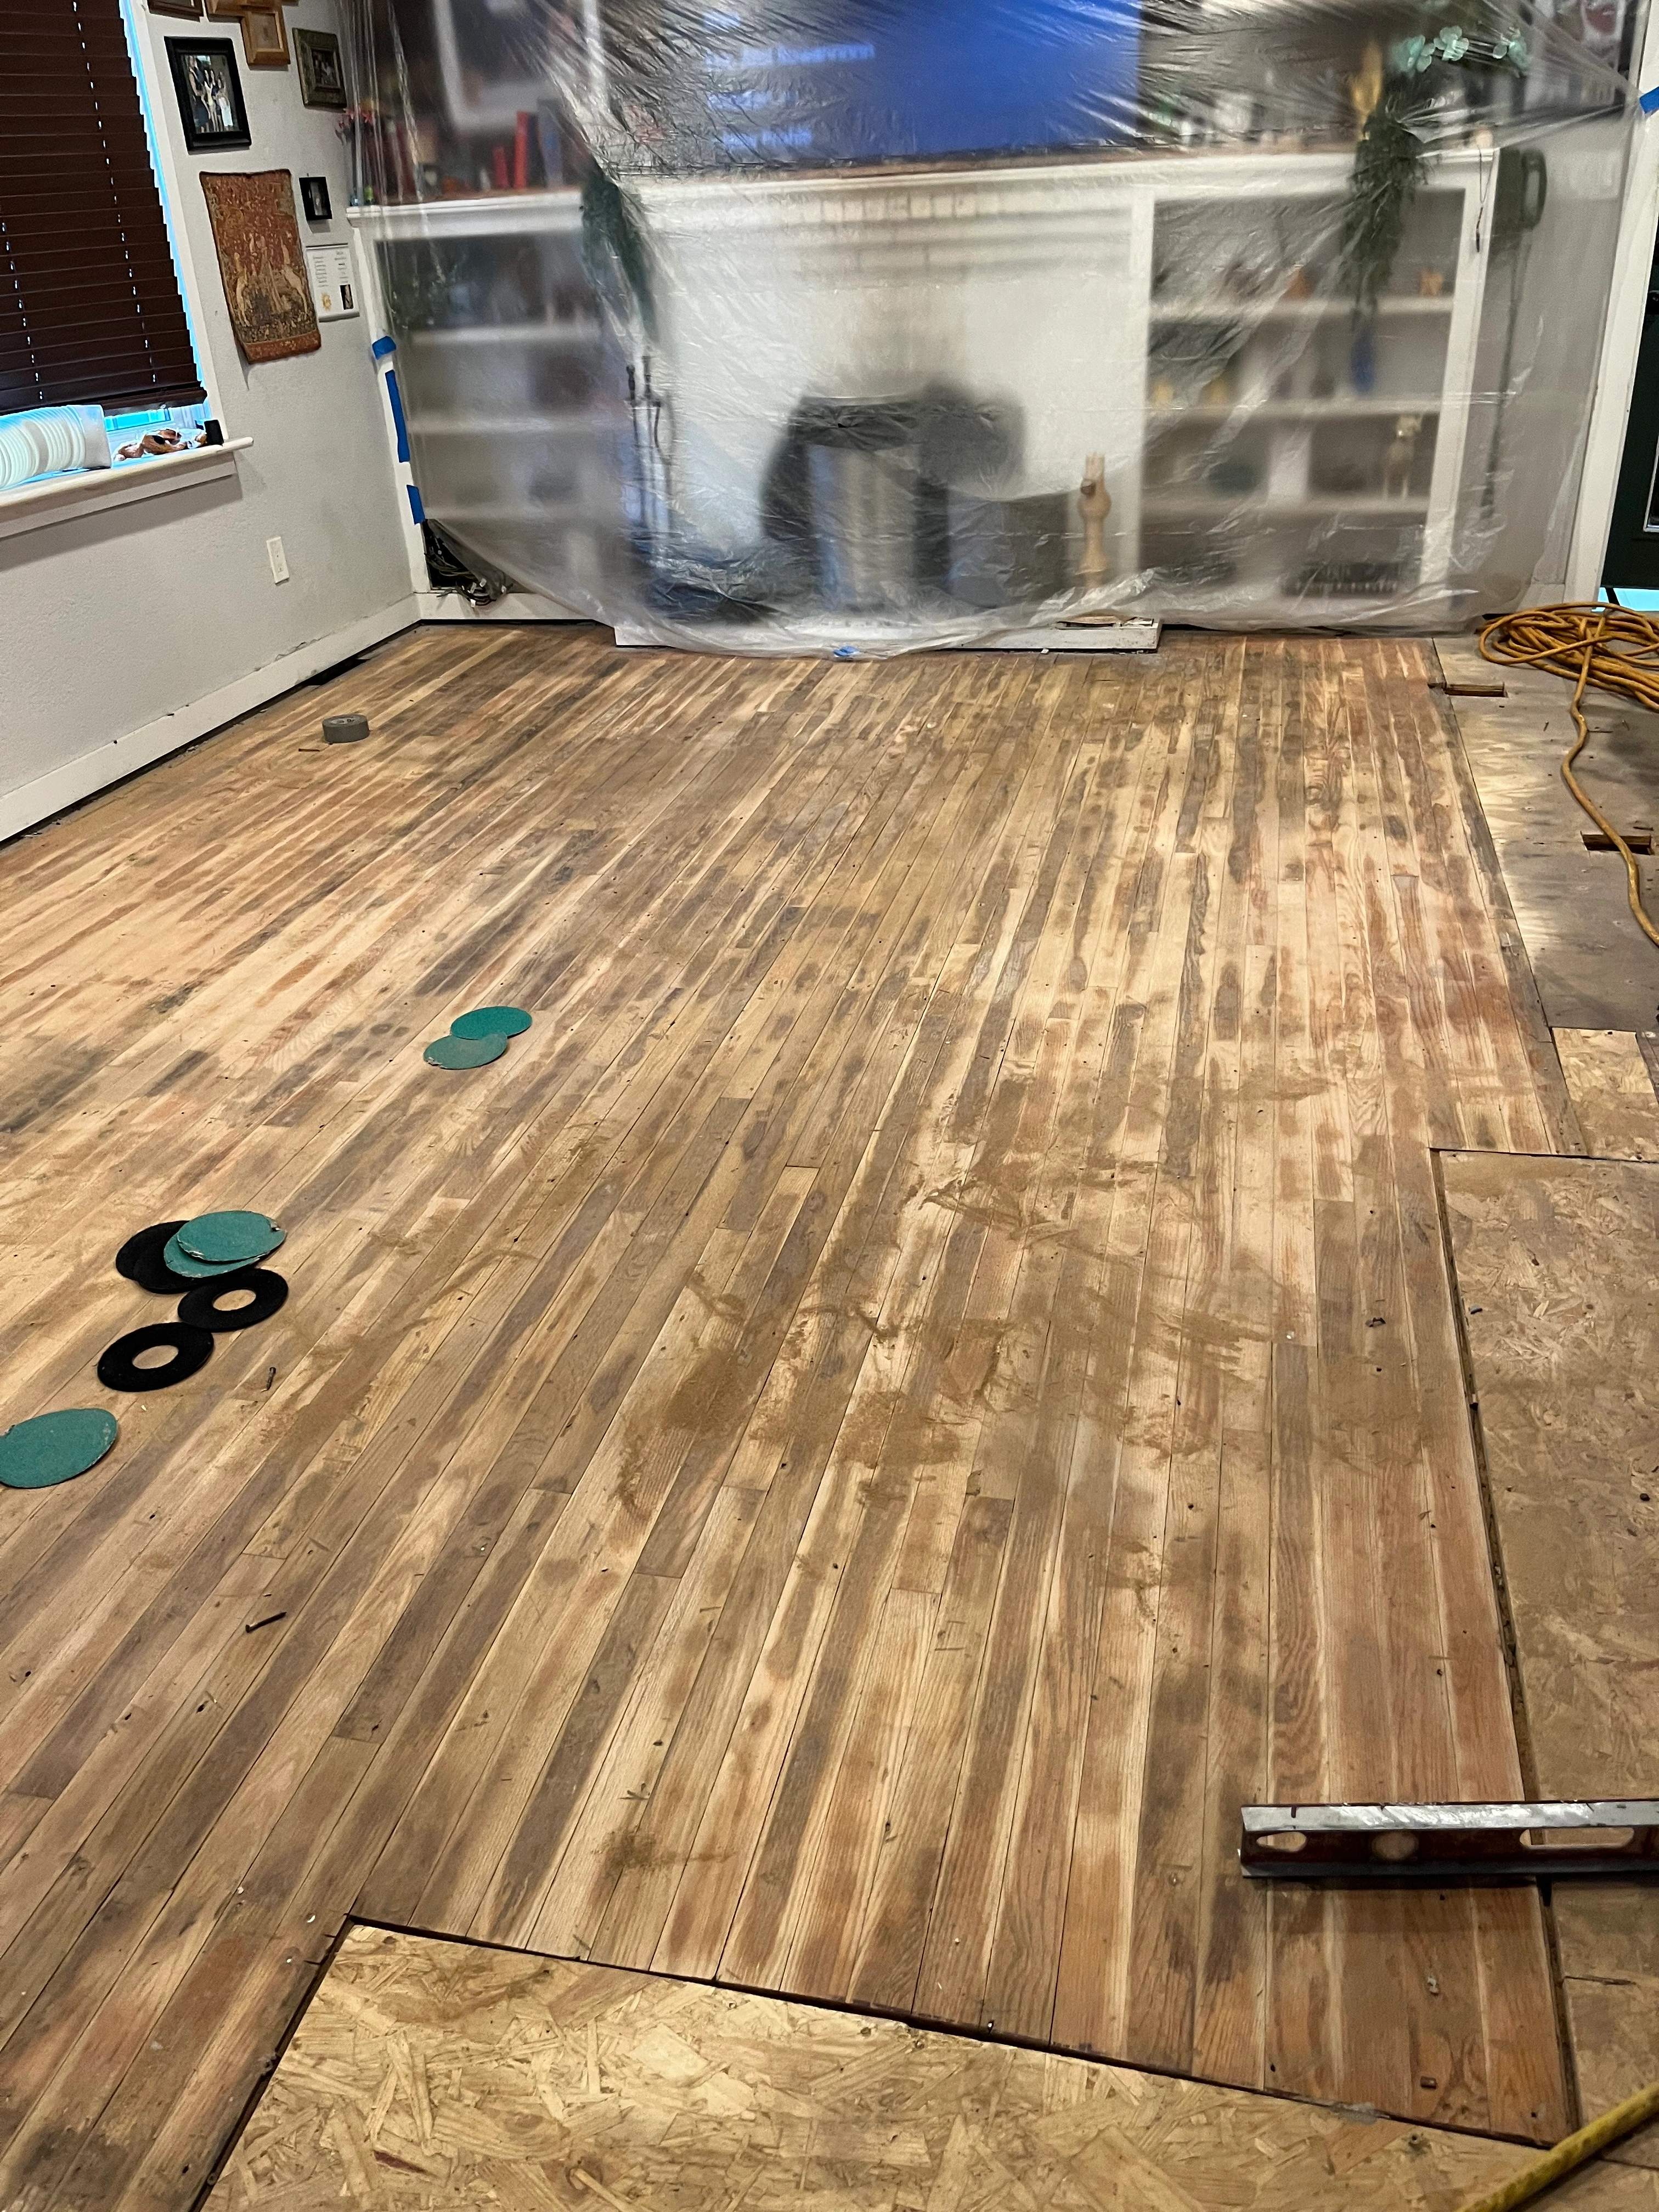
Taking out tile is where most of the work hides. Under the old tile we found cracked thinset, uneven patches and soft spots in the subfloor near the kitchen, likely from years of moisture and movement. LVP needs a flat, solid base. Laid over dips or soft areas, the click-lock joints flex with every step and can separate over time. The walls also showed scuffs and patched spots from years of wear, which would have stood out next to a brand-new floor.
The Solution
We removed the tile and old setting material down to the subfloor, keeping dust contained and the rest of the home protected while we worked. Then we repaired the subfloor, replacing damaged sections and screwing down loose areas, and leveled the low spots so the new floor would sit flat and stay quiet. Over that base we installed waterproof rigid-core LVP with clean transitions at each doorway and new trim. To finish, we painted the walls so the room looked complete the day we left. The result is a floor that looks like wood, shrugs off water, and feels solid underfoot.
Before & After
Schedule Your Free LVP Installation Estimate
Exact proposals with zero hidden fees.